How to Choose and Set Up Your Nymph Rig

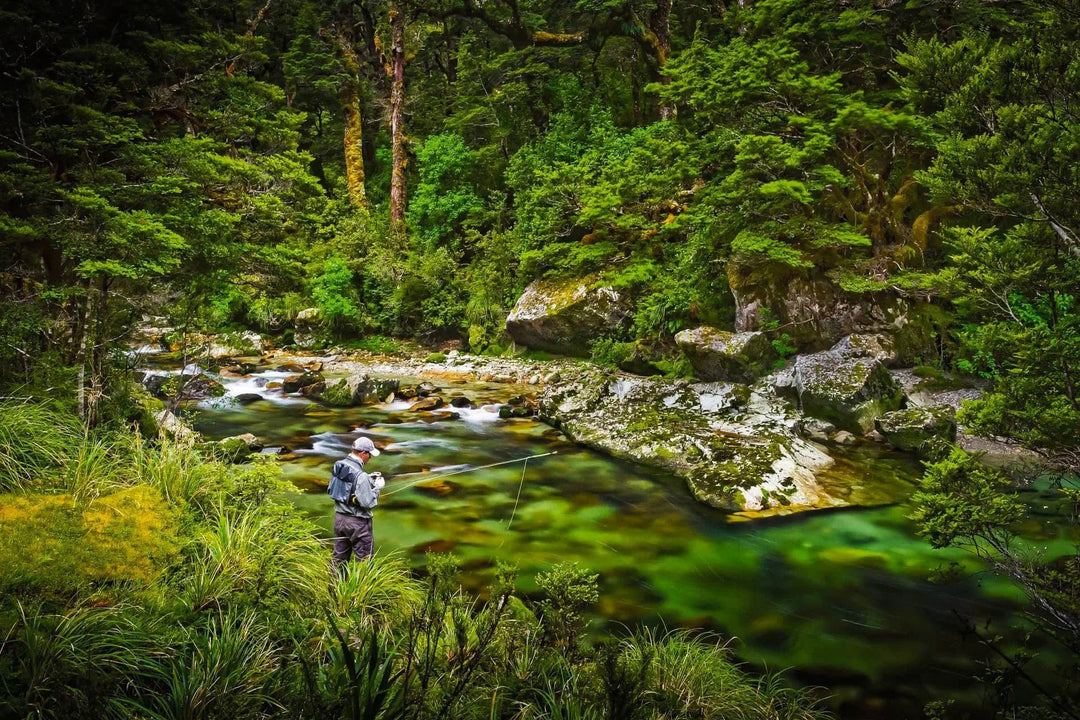
It’s spring, and that means nymphs are the best way to catch fish! There are several things to consider when putting together a quality fly fishing nymph rig. In many ways, it’s a personal choice because every fisherman has their own methods and preferences, but it’s essential to keep the following basics in mind:
- Weight
- Color
- Seasonal Hatches
- Water Type and Depth
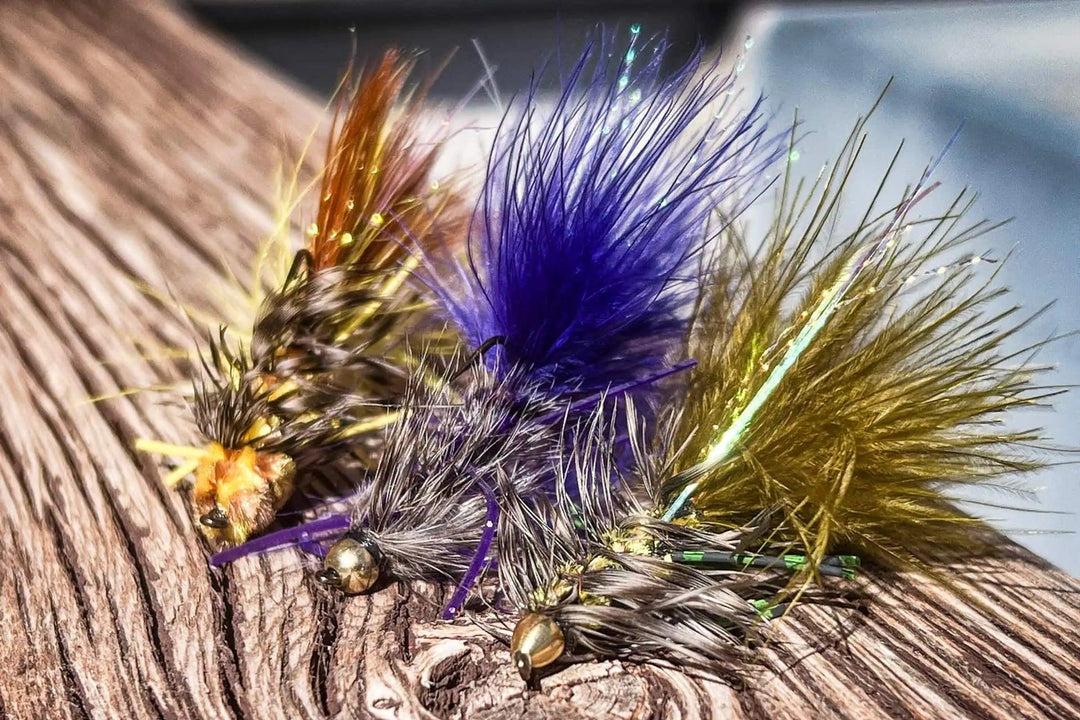
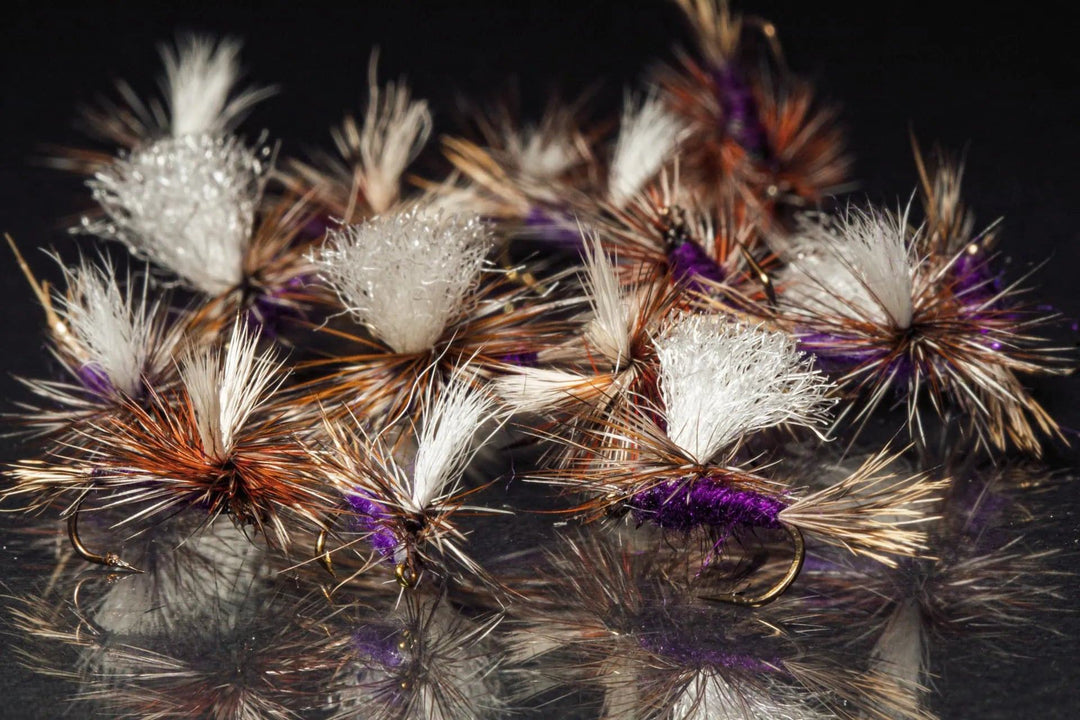
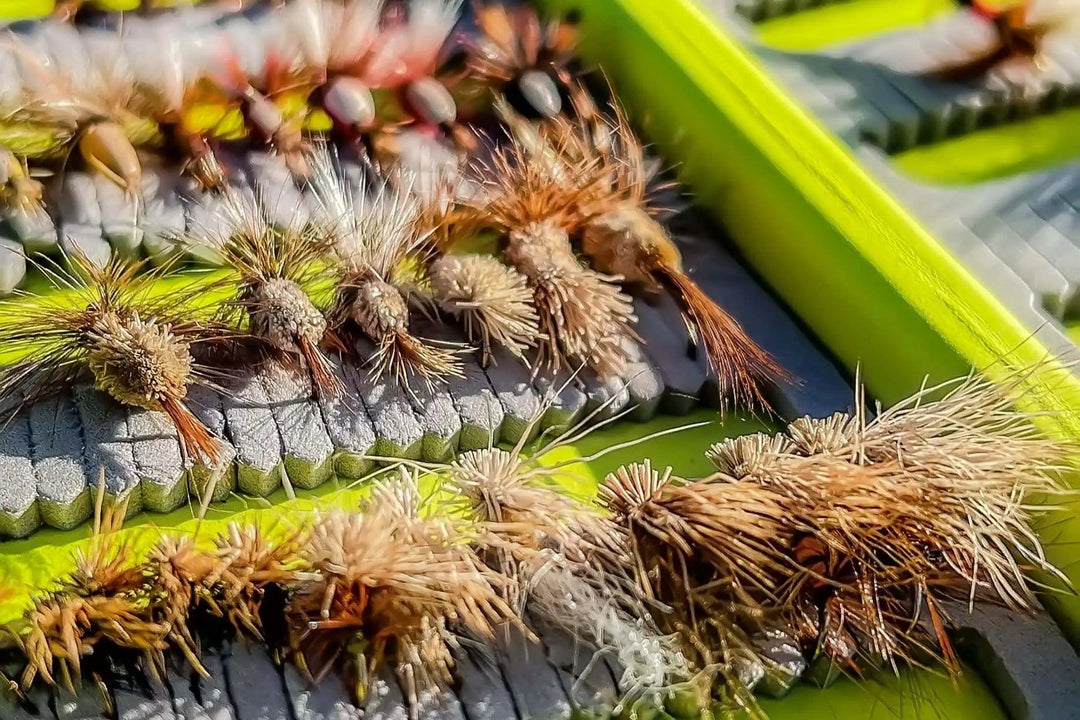
There's a lot more to choosing flies for fly fishing than meets the eye. It can be intimidating if you're a beginner, but don't let that stop you from having a good time and trying out new things. Let's take a look at three different nymph kits and how you may use them to your advantage.
Basic Two Fly Nymphing Rig
The basic Two Fly Nymphing Rig is a great day-to-day setup because it's easy to put together and is successful in most fly fishing scenarios. It's also simple to learn how to cast with this nymphing rig, as well as how to judge depth and how your indicator will react when a fish strikes your fly.
To set up this rig you will need:
- 9 foot 2X - 4X leader (depending on fish size)
- Clear bobber indicator
- Splitshot – 2 to 3 size 4
- Fly #1
- 12 to 14 inches 5x or 6x Tippet
- Fly #2

This is a great set-up for anyone that is new to nymphing, but remember that you do have multiple flies and weights on the rig, so take your time casting until you feel comfortable with it. It is a lot different than just casting one dry fly.
Drop-Shot Rig Setup
The drop-shot rig is great for deeper water. Sometimes you need more than one fly in multiple positions, and a drop-shot setup can make it happen quite easily since you can fish as many flies as you feel appropriate and depending on local fishing laws.
To set up this rig you will need:
- 7.5 foot leader 4X or 5X (depending on fish size)
- A clear indicator
- Weight on the bottom
- Triple Surgeon’s Knot or Overhand Knot with the tag end as a fly connection

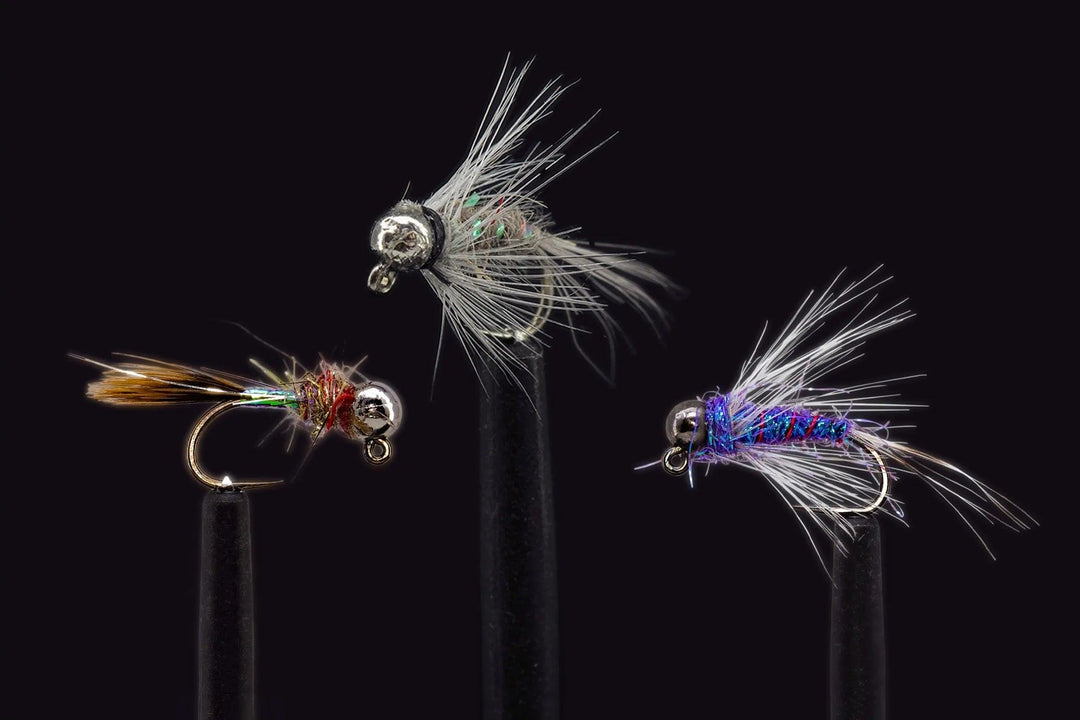
Changing the color of your flies from top to bottom is a great idea. Natural flies appear shinier near the surface as a result of the sun, whereas they appear darker in deeper water. Any rig that doesn't look like this won't look natural to trout, and they'll avoid it.
Another great trick is to keep the fly line out of the water where possible as you want a tight connection between your rod tip and the weight. Once you get a bite, the tightness will let you set the hook quickly, reducing the chances of a fish slipping or breaking the line.
Basic Hopper Dropper Setup
Because grasshopper flies and hoppers are more difficult to tie than traditional rigs, many newbies avoid them. It's preferable if you mimic grasshopper behavior, otherwise the trout will avoid you and swim away. During the late summer and early fall, though, they hatch in large numbers and trout eat them all day, making them quite beneficial during these times.
The main goal is to attach a 9 foot leader with approximately 12 to 24 inches of 5x or 6x tippet. Don’t worry - it’s easier than it sounds!
Here’s how to do it:
- Make sure the leader is the same size as your rod - for example a 10 foot rod = 10 foot leader
- Attach the first fly to the end of the leader. An Improved Clinch Knot is a good bet.
- Add 12 to 24 inches of 5x or 6x tippet with the Improved Clinch Knot.
- Add a second fly, a smaller one, using the same method as the first fly.

What Should You Keep In Mind When Fly Fishing Nymphing Rigs?
Shelf drop-offs are an area of water that suddenly disappears, leaving a shelf. They are perfect for fish because the water is deep, which is great for hiding, and the insects drift down the column right into their mouths. The only problem is getting your nymphs into the feeding zone, as drop-offs can be fifteen feet deep.
The trick is to play around with your rig to get enough weight to sink the fly pattern into the fishes' path. Visualizing how much tippet you'll require is a fantastic place to start as it will give you a solid first impression of the level of drop-off. Of course, when you try something that doesn't work, you should write it down.
Making a note of rigs that didn’t work prevents you from attempting it again with the same result. Once you get used to fishing in drop-off areas, you’ll get better at visualizing and judging the depth and what it takes to appeal to the fish.
Strike Lightly But Confidently
A bite isn’t a guarantee of landing a fish. To set the hook, you need to strike correctly, which is something anglers often get wrong. Rather than being overly aggressive, you should keep it light and confident. That way, you’ll react accordingly and won’t tear the hook out of the fish’s mouth if you apply too much pressure.
If in doubt, don’t be afraid to strike and see what happens. You might come up empty-handed, but you could land a trout.
As you get comfortable fishing a traditional one or two fly nymphing rig, play around with fly selection. Try different combinations of flies until you find what works in a particular stretch of water.